6 Steps to Create Interactive Demos in 2024 [Plus Examples]
Recently, software companies have been adopting interactive product demos as part of a shift toward Product-Led Marketing.
In our recent State of the Interactive Product Demo Report, we found interactive demos have increased in popularity by almost 90% since 2022. Out of a sample size of ~5,000 B2B SaaS websites, 9.26% used some version of a “Product Tour” CTA.
In the same report, we looked through the top 1% of top-performing customer demos to see what they have in common and how they were built.
Below, we’re sharing a step-by-step process of how to create demos just like our best-performing customers, along with a few examples for inspiration.
What are interactive demos?
Interactive product demos provide prospects and customers with a hands-on walk-through experience of your product throughout the sales and marketing funnel.
They are a type of no-code sales demo software that automates the creation of product demos to showcase relevant features and demonstrate how you solve customer’s pain points.
Interactive product demos can be used across the funnel, from first touch in outbound campaigns to website product demos and post-demo leave-behinds. An interactive product tour gives customers the information they need and the confidence to make a purchase.
6 steps to build a successful interactive demo
You can create interactive demos in-house or with software like Navattic. In most cases, using interactive demo software is preferable – in-house demos can take six months to a year to build with dedicated engineers.
Interactive demo software allows your sales and marketing teams to build demos without needing an extensive engineering lift.
But selecting the software you will use isn’t the only prework involved in building an interactive demo. Here are some other key considerations for building the top-performing interactive demos.
Below are the steps to create an interactive demo:
- Step 1: Choose your use case
- Step 2: Collect internal assets
- Step 3: Create a storyboard
- Step 4: Build your demo
- Step 5: Decide to gate vs ungate
- Step 6: Iterate on your demo
Read on for an in-depth walkthrough of each step.
Step 1: Choose your use case
First, decide how and where you’re going to use your interactive demo. As shown below, the most popular use cases for top-performing demos were:
- Website embeds
- In-product enablement
- Help articles
- Feature launches

Don’t feel like you’re limited to one use case — most of our customers build 20 demos on average across all available use cases.
That being said, creating 20 demos at once can be overwhelming. So start with just one and expand from there.
When you finish building your first demo, you’ll have a better sense of the planning and build process. And you might even be able to use it as a template, cloning and editing it to fit other use cases.
Use Cases Tip
Demo length and content may change depending on each use case.
For instance, website interactive demos should be short (10 - 15 steps) and highly focused on value, whereas an interactive demo in a help article may take a more “how to” approach with longer steps.
Additional Resources
Read up on best practices for each interactive demo use case:
Step 2: Collect internal assets
Once you’ve decided on your use case, it’s time to gather internal resources for inspiration for your demo build.
Sales calls, customer calls, and frequently used slides or one-pagers are great jumping-off points for demo content.
If those don’t exist, we recommend hosting a brainstorming session with your CS, Sales, or Product team to clarify typical user “aha moments” — when users realize the value of your product.
Don’t know what your “aha moments” are? Think about the moments' users:
- Understand exactly how the product will help them
- Experience the core value of the product
- Achieve something quickly that would have taken them hours in their old workflow
Internal Assets Tip
If you have an existing demo video or recording, consider summarizing the transcript with AI to form your Storyboard outline (the next step).
Additional Resource
Follow our step-by-step instructions to turn sales videos into interactive demos.
Step 3: Create a storyboard
Review the materials you’ve collected and start to form a demo outline. Your goal should be to incorporate 2-4 “aha moments” that are unique to your platform.
Once you’ve got a rough sketch, run through it yourself a few times to confirm the main takeaways from each piece of content match what you’re conveying in the demo. Then, share it across the org.
Tara Quehl, Product Marketing Director at Demandbase, shared in our customer interview series, “Ask for feedback from other teams who get exposure to prospects and customers. They have insights that you may not.”
Reviewing your demo with others at the Storyboarding stage allows you to make changes much more easily than if you’d already built the demo.
Plus, you can start getting buy-in from other departments and foster excitement even before the demo is publicly shared.
Storyboarding Tips
Some additional tips when storyboarding:
- Keep each demo flow to 8 - 15 steps
- Break features or use cases down it up into different “flows”
- Use a combination of modals and tooltips
- Create a theme to make your demo match your product branding
- Use a checklist to organize multiple flows and give users options
Additional Resource
Make your demos even more compelling with tips from a copywriting expert.
Step 4: Build your demo
With your approved outline in hand, it’s time to start building.
Our customers have found that task batching dramatically decreases the time it takes to create their demos. Some create their entire demo theme in one go or insert all the CTAs they know they want to add before filling in the rest of the demo.
After you’ve got a solid structure, consider:
- Playing with various theme colors
- Repositioning your tooltips for better UI
- Refining your copy to prompt conversion
Building Tip
Sometimes it’s hard to see the forest for the trees. For a second pair of eyes, reach out to us at support@navattic.com to schedule a demo review.
Additional Resource
Learn about three strategies our customers use to speed up their interactive demo builds.
Step 5: Decide to gate vs ungate
At this point, you need to know whether you’re asking for users’ emails or you’re leaving your demo ungated.
If your goal is lead generation, you may want to gate. But if your goal is education or awareness, you may want to ungate so you get as many eyeballs on your product as possible.
For reference, our State of the Interactive Product Demo research showed that 72% of top-performing demos did not use a form. These ungated demos had 12% higher completion and 5% higher engagement rates on average.
Gating Tip
If you decide to gate, consider waiting to display a form until after step 5.
Our data shows that forms placed later in a demo had a 5% increase in completion rate and a 15% increase in engagement rate.
Additional Resource
To help you make your decision, read: Should You Gate or Ungate Your Interactive Demo?
Step 6: Iterate on your demo
Chances are your demo won’t be 100% perfect the first time you publish it — and there is always room for improvement.
Sydney Lawson, Product Marketing Manager at Athennian, explains that with Navattic Analytics, she’s been able to “tweak pages and tours to make sure that people are finishing the entire tour” and to “easily see where people are dropping off.”
After your demo has been live for a month or two, use Navattic’s native dropoff reporting to see where people get stuck. Go through the demo yourself to try diagnosing the problem and making adjustments accordingly.
Iterating Tips
Use your Analytics Dashboard to see what demos have the highest and lowest engagement and conversion rates.
Find commonalities in the structure, copy, and content in the highest-scoring demos and use that as best practices for future demos.
Additional Resource
Check out our 2024 State of the Interactive Product Demo report to see how your demo metrics stack up.
Interactive product demo examples
To give you some inspiration, we’ve pulled several examples of how companies are using interactive demos on their websites.
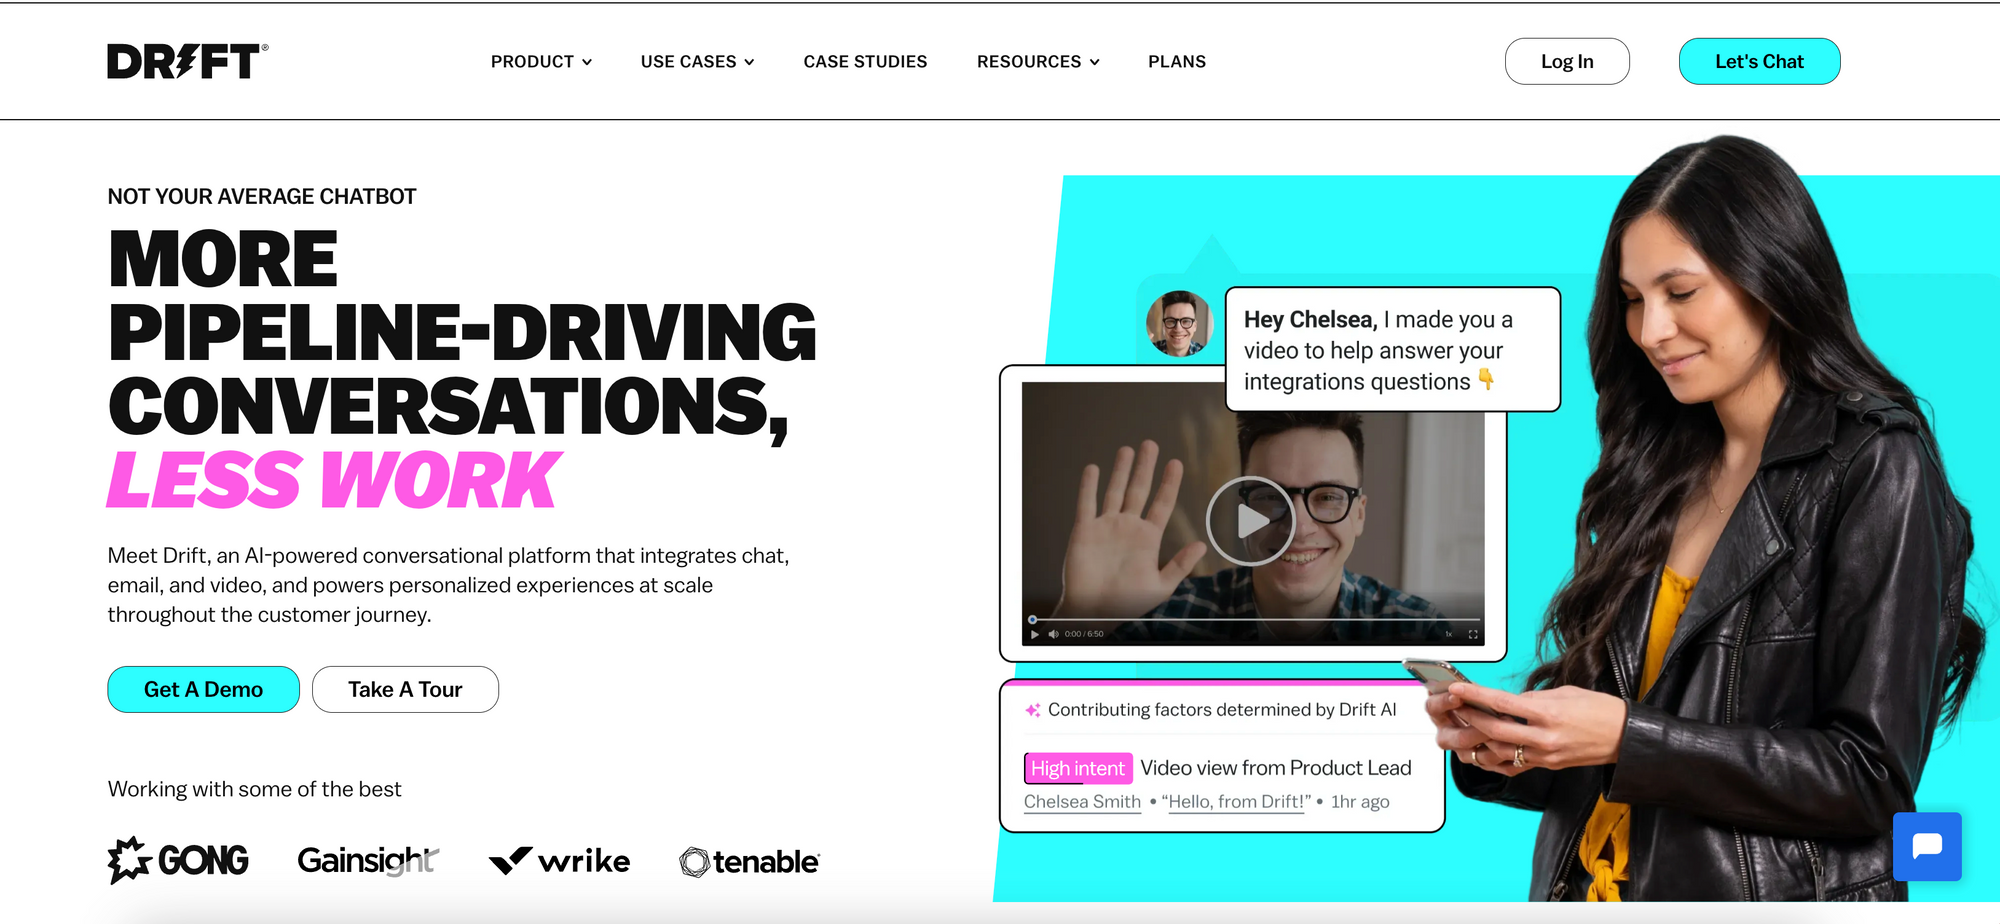
Drift
Drift, an AI-powered conversational platform that integrates chat, email, and video, and powers personalized experiences at scale throughout the customer journey.
The Drift Product tour is used as a secondary CTA on their main landing page
Gorgias
Gorgias, an all-in-one customer support helpdesk for ecommerce businesses, incorporates interactive demos in multiple areas of its website.
The Gorgias Product tour has its own spot in the top navigation bar.
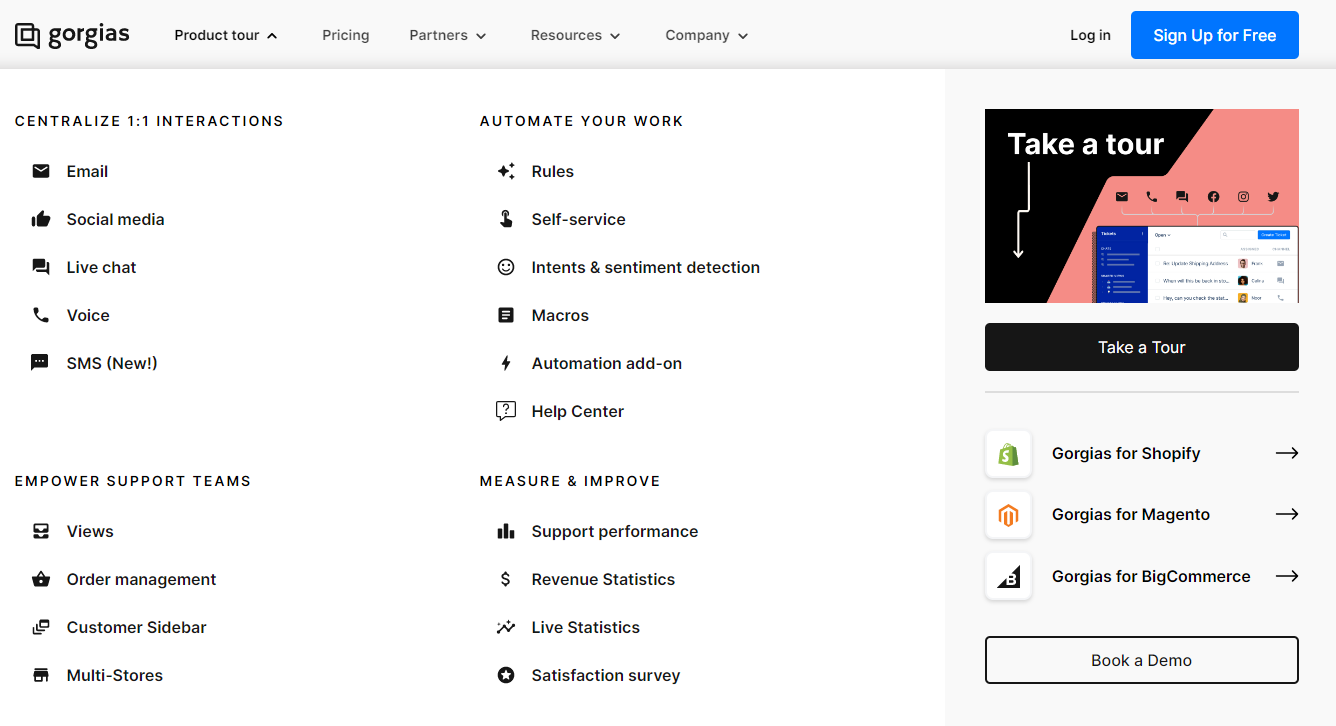
Expanding this section reveals Gorgias’s product features and asks users to Take a Tour.
Clicking on the CTA button takes users to a full-page interactive demo highlighting the advantages of Gorgia’s centralized support ticketing system, 360-degree customer views, and automation capabilities.
ClickUp
ClickUp, a next-generation project management tool, embeds its interactive demo on the marketing-specific solutions page.
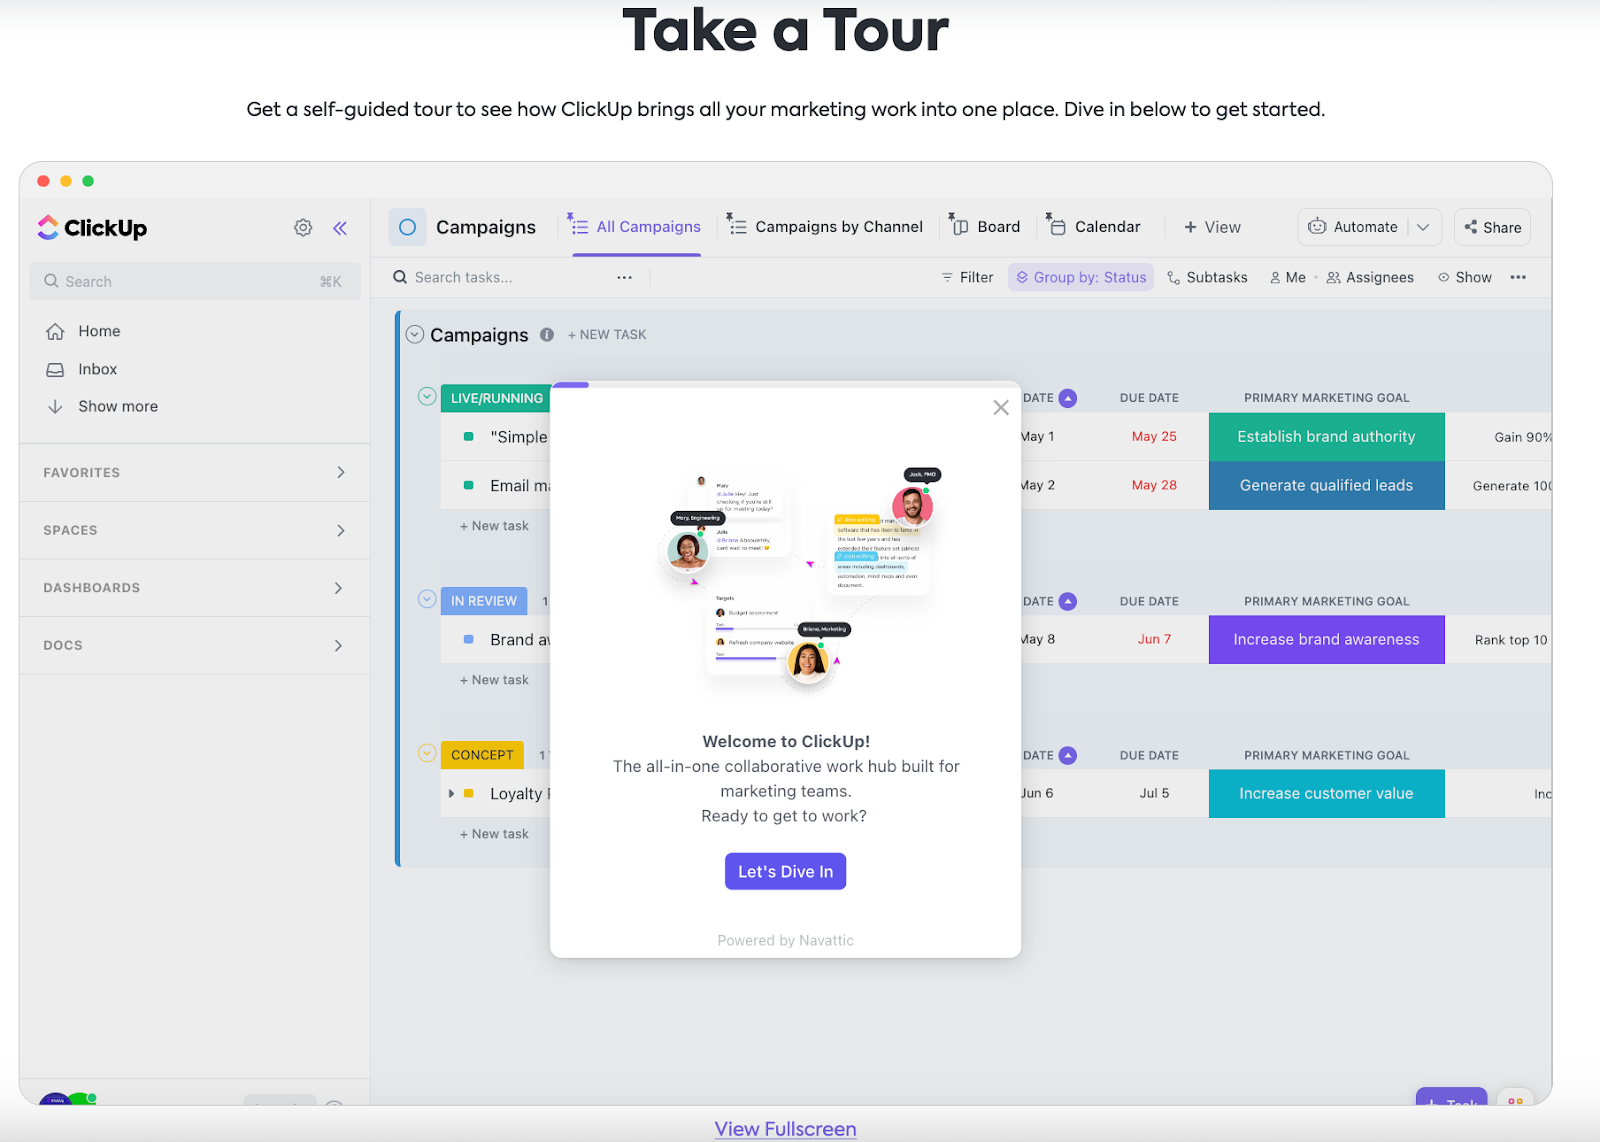
The product tour shows marketers how ClickUp works specifically for their org, streamlining campaign ideation, planning, channels, document organization, and more.
Rather than asking for an email address in the tour, the demo pushes prospects to sign up for a free ClickUp workspace.
If you’d like to see how other B2B SaaS companies are leveraging interactive demos, check out our Customer Showcase.